Astro + Hygraph
#Overview
Astro is an all-in-one web framework for building content-driven websites like blogs, marketing, and e-commerce. It has everything you need to create a website built-in.
You can use Astro with any JS framework — React, Svelte, etc — or none at all.
#Creating a new Astro app
To start, we need to initialize a new Astro project. Open up your terminal, navigate to where you want your project, and run the following command:
npm create astro@latest
To create an Astro app with an example implementation of Tailwind CSS, run the following command:
npm create astro@latest -- --template with-tailwindcss
We will use Astro with an example implementation of Tailwind CSS in the Getting data from Hygraph section of this guide.
#Configure Hygraph assets to work with Astro
To work with the Astro image module <Image/>, we need to specify Hygraph as an image domain by adding the domain URL in the astro.config.mjs file.
Your config file should contain the following code:
// File: astro.config.mjsexport default defineConfig({{image: {// Example: allow processing all images from HygraphremotePatterns: [{protocol: 'https',hostname: 'media.graphassets.com',}],},}});
#Getting data from Hygraph
Now that you have created your Astro project, it's time to add some data from Hygraph. Start by cloning our demo Hygraph project:
Click here to clone the demo projectAfter cloning, you will have a simple project that contains one content model called Page that contains fields for Title, Slug, and Body; and one content entry.
If you navigate to the Schema builder and click on the Page model, you will see this:
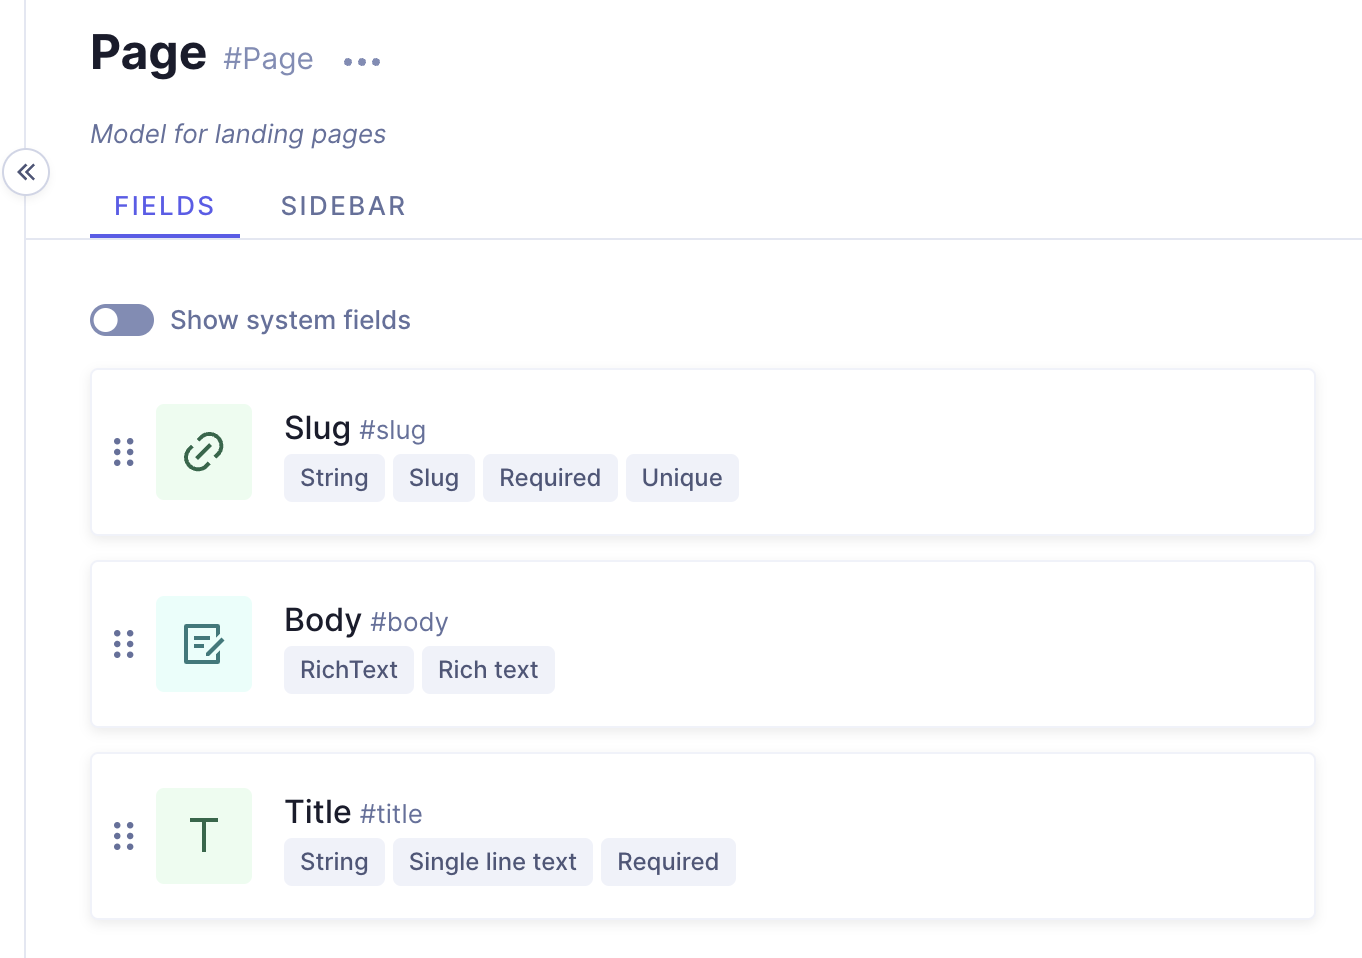 Demo project - Page model
And if you navigate to the Content editor and view the sample entry details, you'll see this:
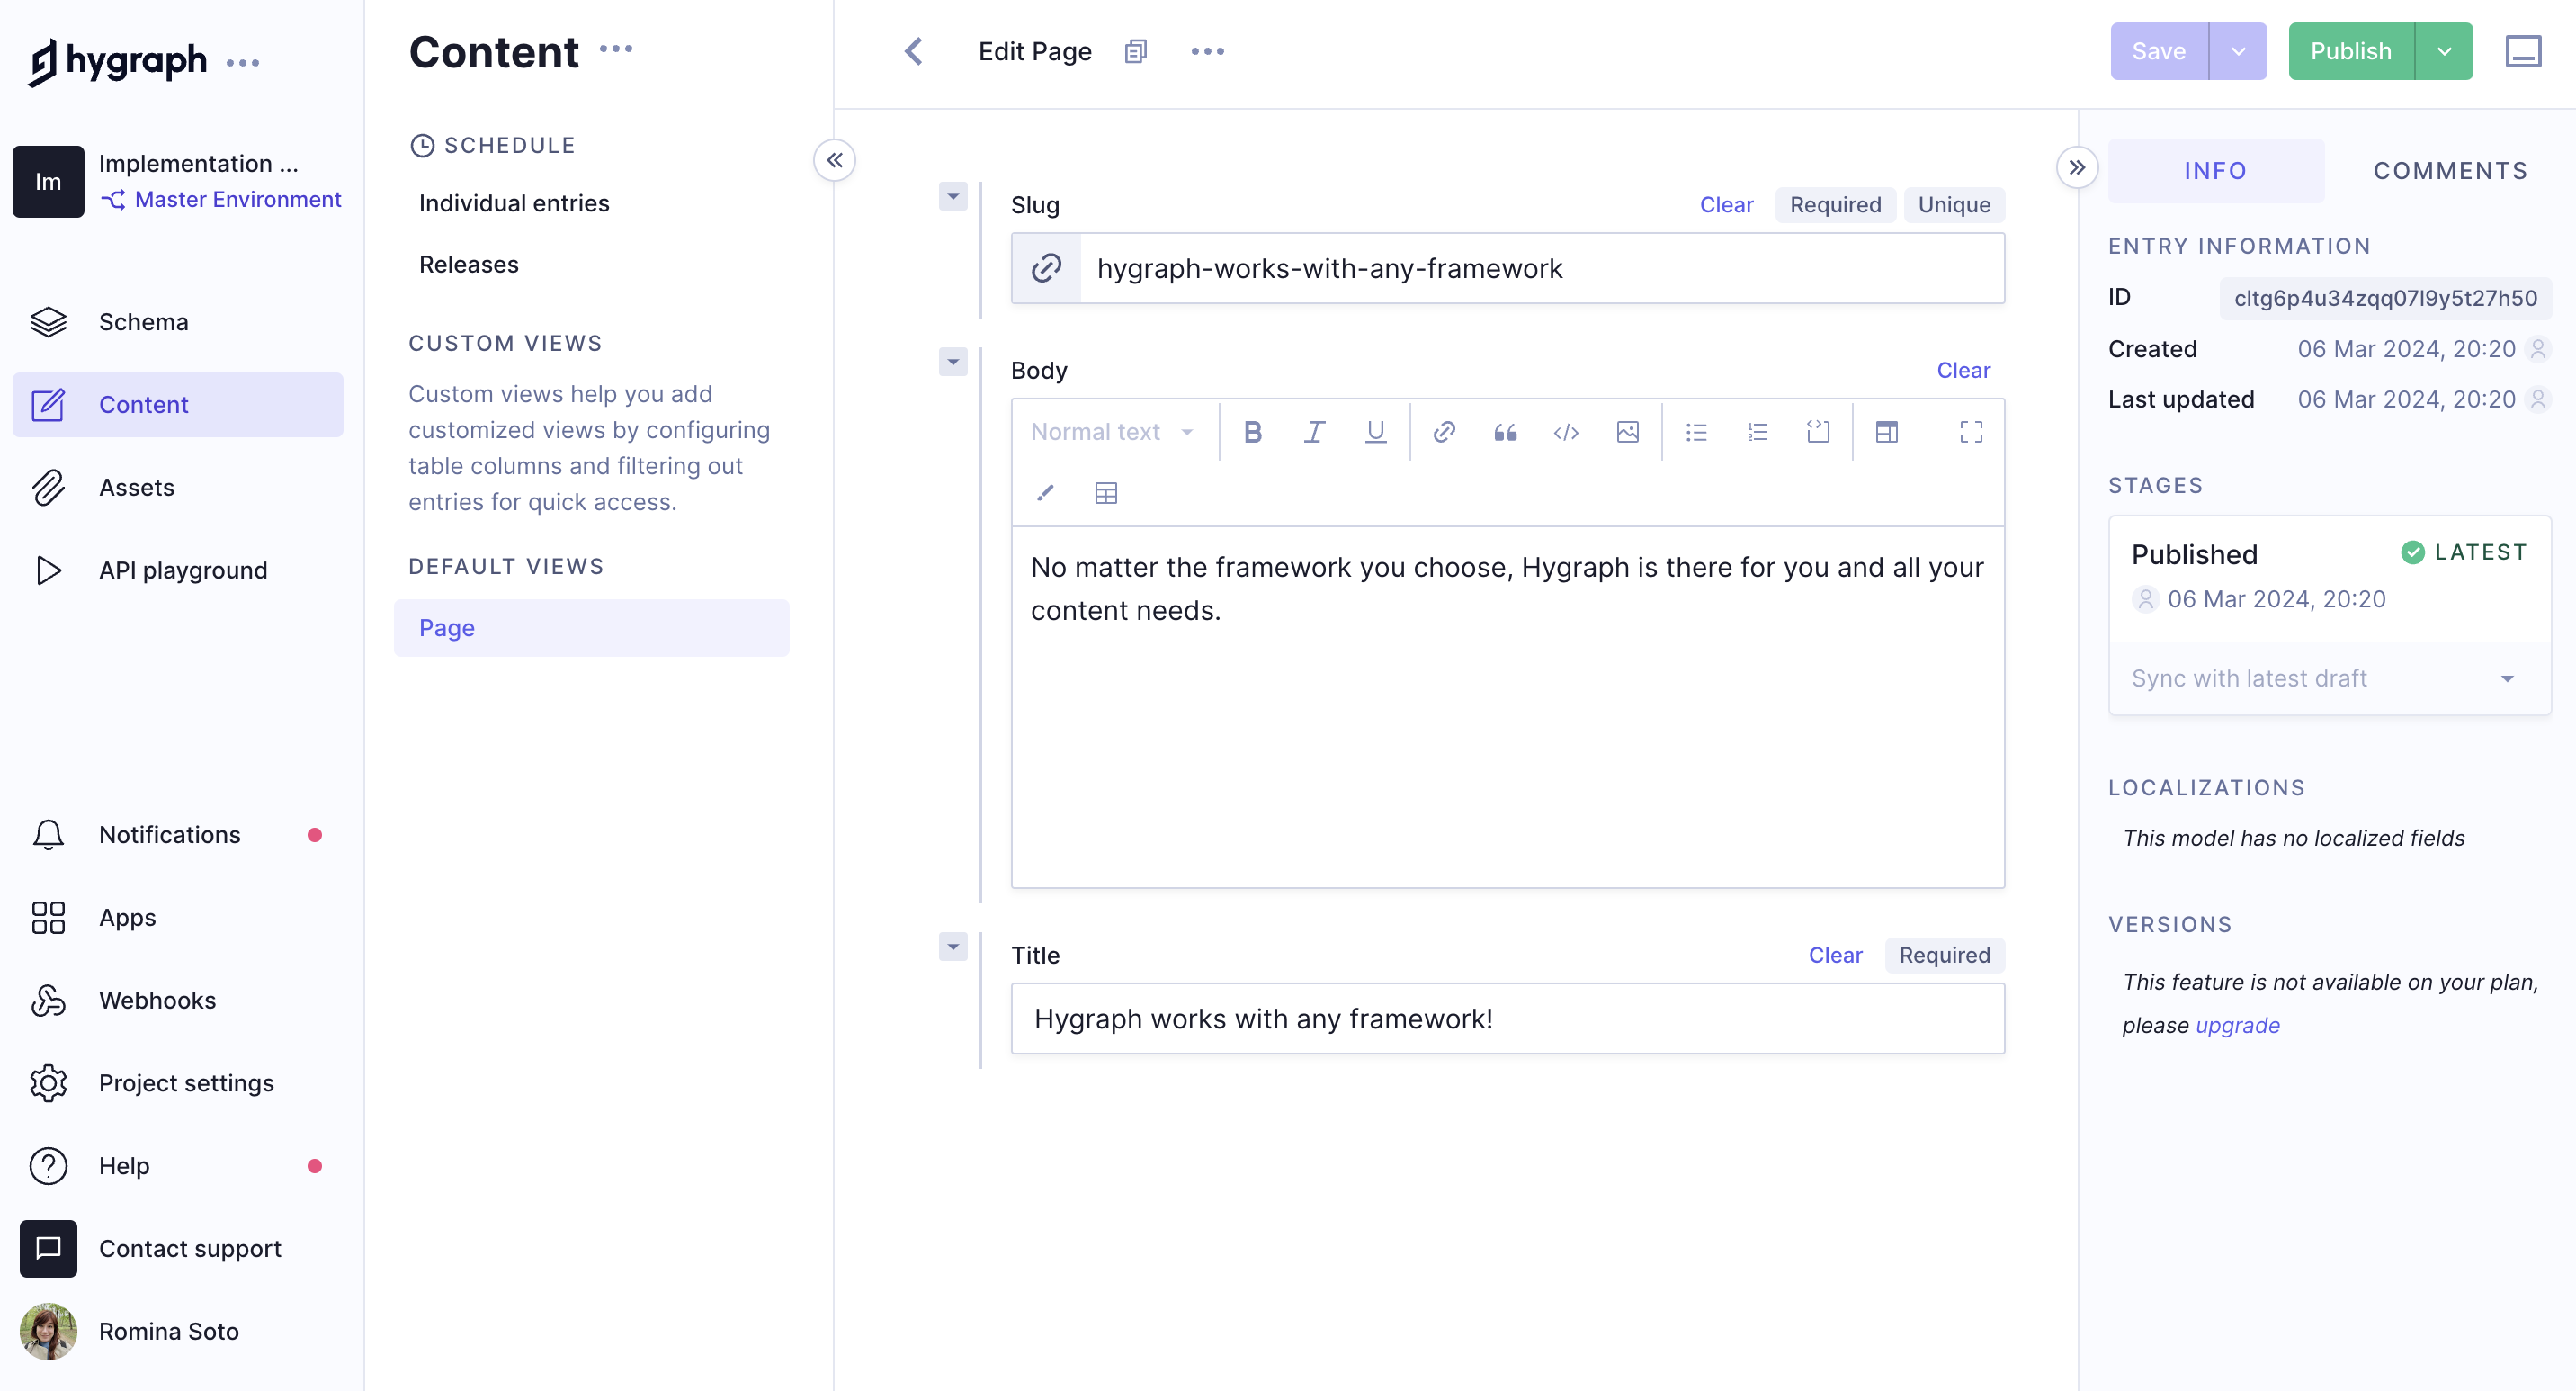 Demo project - Sample content entry
#Public content API
Before you can connect Astro to Hygraph, you will need to configure Public Content API access permissions for unauthenticated requests.
To do this, go Project settings > Access > API Access > Public content API in your Hygraph project, scroll to find the Content Permissions box that reads Would you like us to initialize some defaults?, and click Yes, initialize defaults:
 Public Content API permissions
Finally, copy the High Performance Content API endpoint from Project settings > Access > API Access > Endpoints. You use it to connect Astro to Hygraph later on.
#Testing a query in the API playground
Next, you should test if you can fetch the information in the sample content entry that we showed you earlier. To do this, navigate to the API Playground in your project and use the following query:
If you execute the query, the response should fetch the sample query in the demo project you cloned.
#Connecting Astro to Hygraph
In Astro, save your HYGRAPH_ENDPOINT in an .env file on the project root.
As a result, you will be able to call this key with import.meta.env.HYGRAPH_ENDPOINT in any of your files.
This will be where we paste the endpoint URL we copied from Hygraph:
ASTRO_HYGRAPH_ENDPOINT=https://<HYGRAPH_CDN_LOCATION>.cdn.hygraph.com/content/<ID>/master
Your root directory will include the following files:
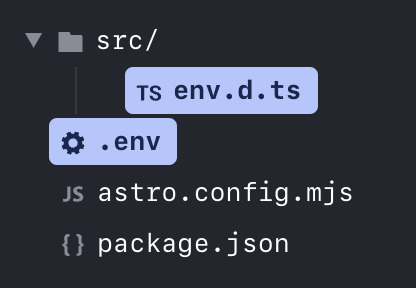 Astro implementation - Endpoint URL
Want to see Astro and Hygraph in action? Watch a quick video on how to connect Astro and Hygraph:
#Generating Hygraph content with Astro
After enabling API access, you can start using the Pages query with your Astro app to render content.
#Installing a GraphQL Client
GraphQL clients make communication easier by abstracting away small details and implementing additional features such as static typing of our query results.
We will use the npm package graphql-request because it is lightweight, has excellent TypeScript support, and supports both Node.js and browsers.
Use the terminal to go back to your Astro app, and type the following command:
npm add graphql-request
This will install a GraphQL client.
#Getting a list of pages for the homepage
After install the GraphQL client, go to the src directory and create a directory called pages with a file called index.astro, and add the following code:
 Homepage
#Creating dynamic page routes with Astro
Now, that we have a list of pages in our homepage, we need to create a dynamic route for each page. To do this, create a new directory in the pages directory called page and a file called [slug].astro inside this directory.
Add the following code:
#Code overview
The code you just added will create a dynamic route for each page. It will fetch the page content from Hygraph and render it on the page.
In Astro, all routes are created at build time. This means that you need to specify the paths for the dynamic routes using the getStaticPaths function to return an array of paths.
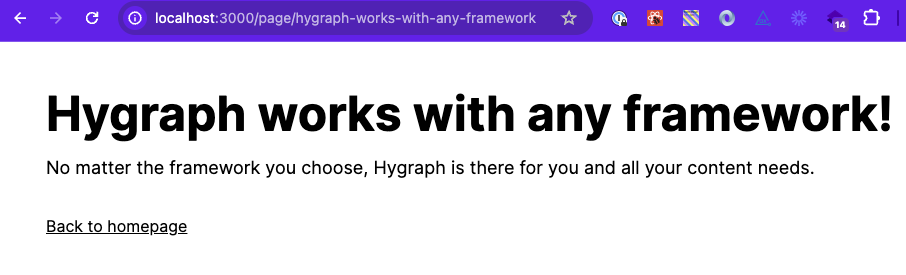 Dynamic page
Congratulations! You have a homepage and a dynamic page route to render all pages and their content.
This was a simple and quick example of how to fetch and render content from Hygraph using Astro.
For more complete implementation examples, clone a starter.